
#98 – Defender of the Crown
One must obtain the crown before he can defend it.

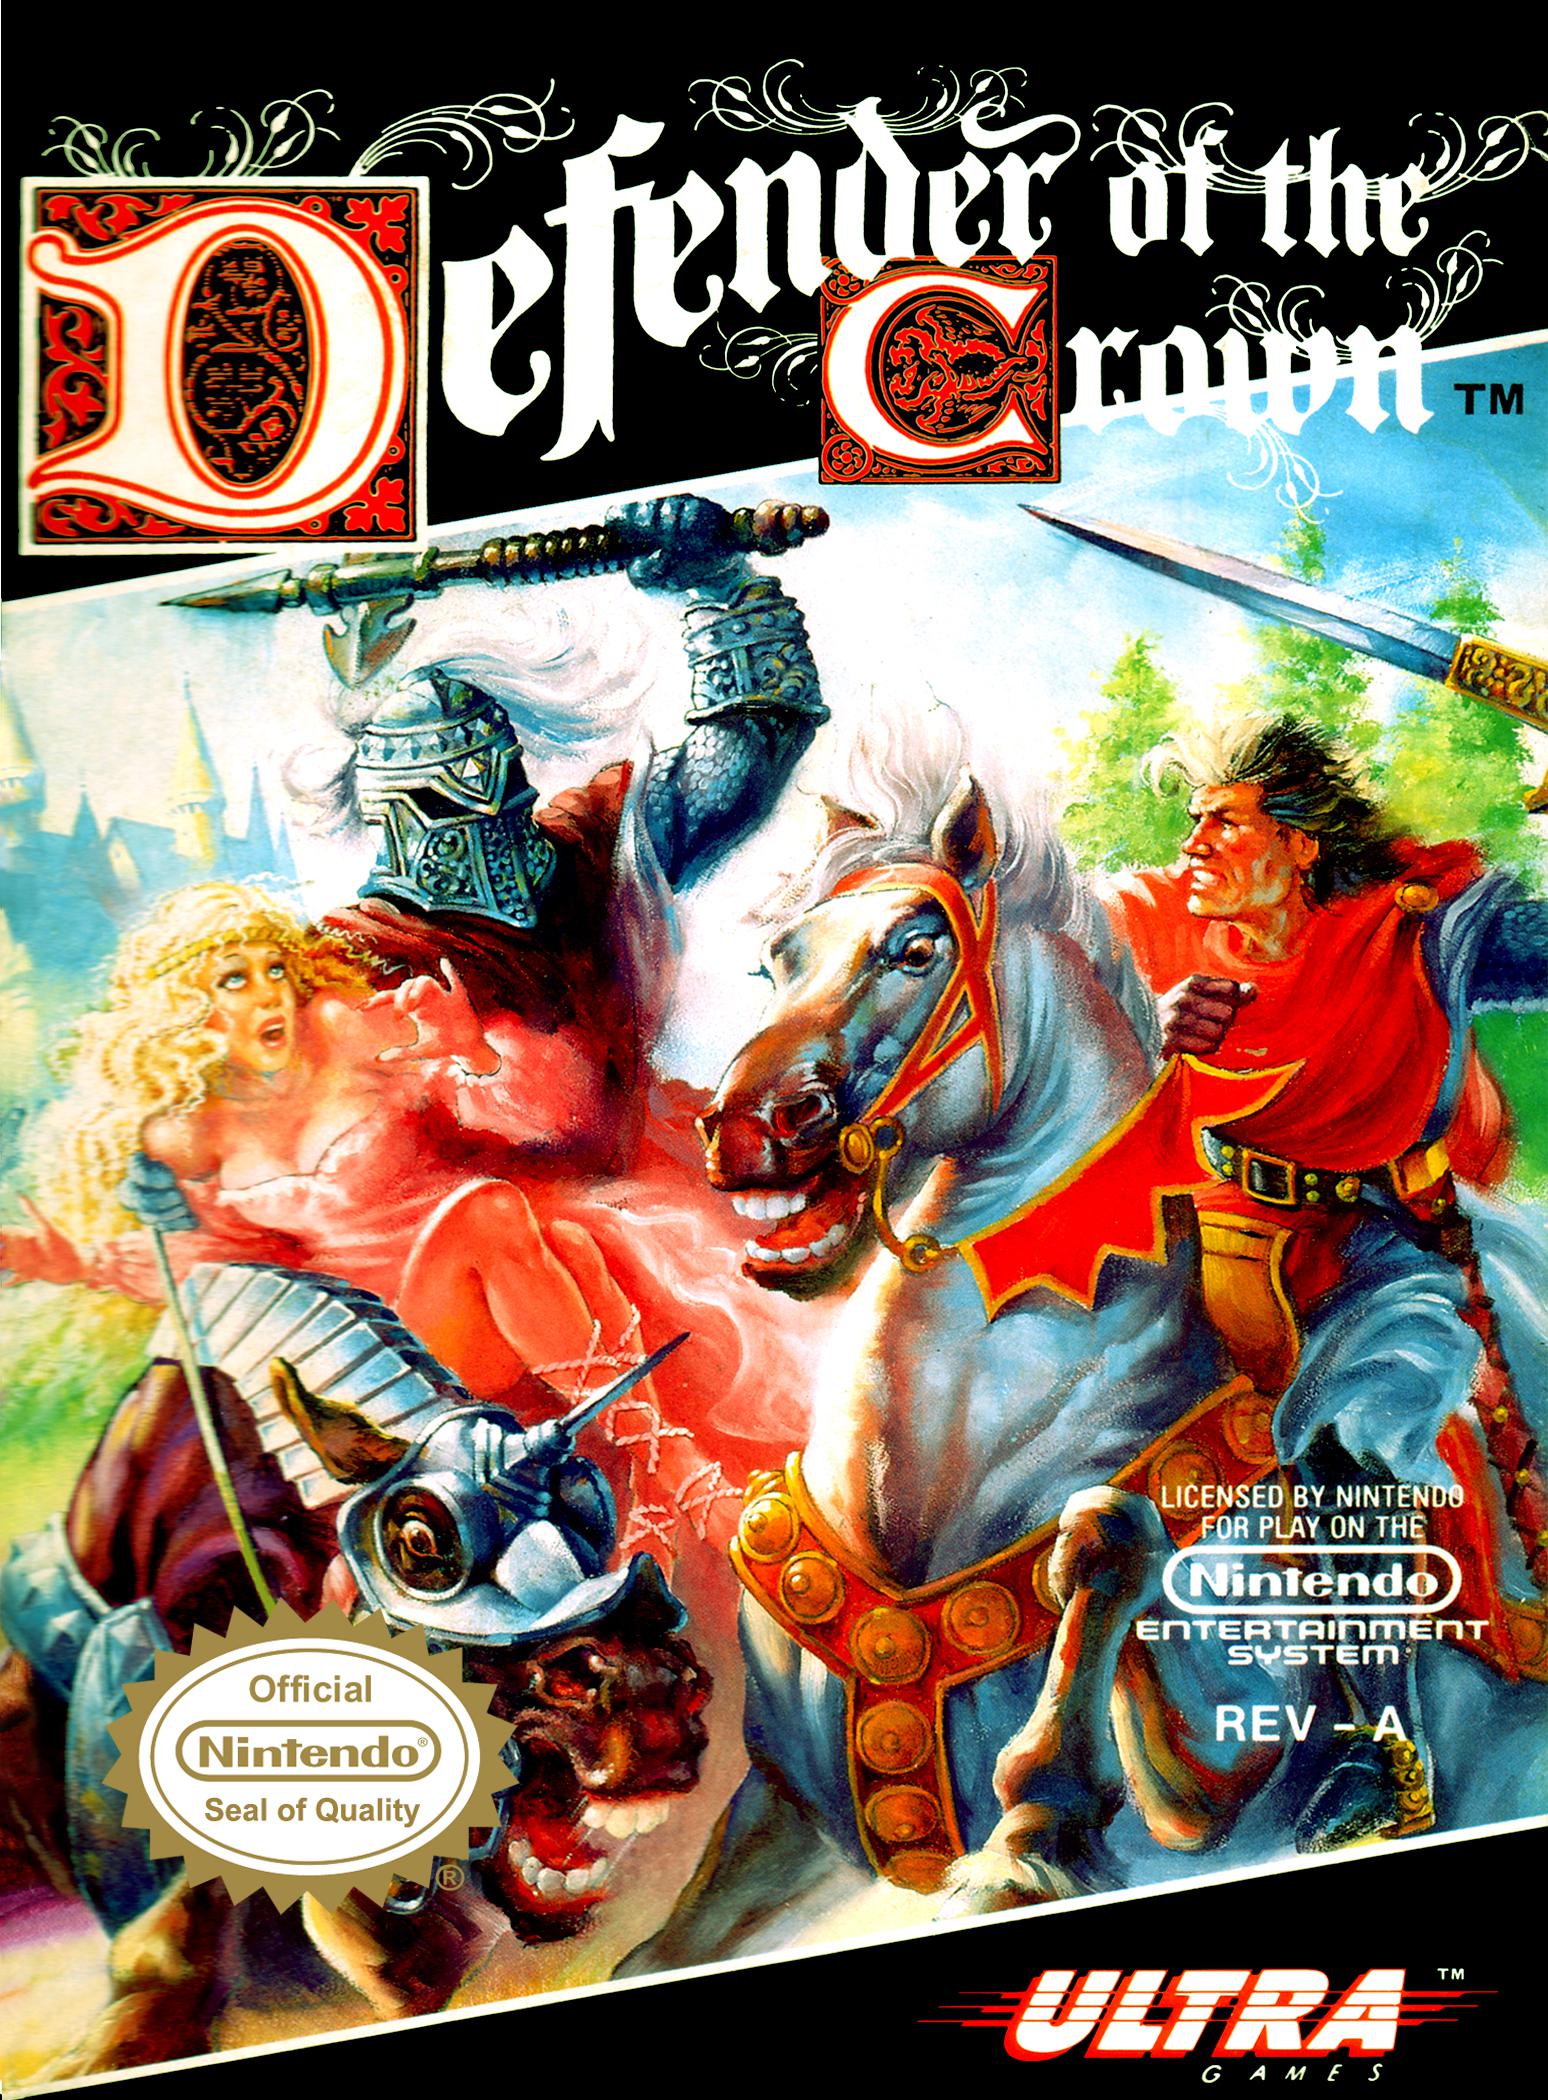
The detailed title screen sure looks like a PC conversion.
To Beat: Defeat the Normans to reach the ending
Played: 8/15/18 – 8/19/18
Difficulty: 5/10
My Difficulty: 5/10
My Video: Defender of the Crown Longplay
The beauty of this NES completion project is that I get to experience new games and am able to build an appreciation of them I would not have had naturally. Defender of the Crown at first glance lulled me in as something interesting. I mean, it’s a Konami/Ultra game and they make great games, so it ought to be good. Then I booted it up and saw that it was a strategy game with a goal of map conquest. I turned a complete 180 from my original impression in my head. I put the game on my deferred list. Fast forward to now and things are much different. I have now beaten Gemfire, a game that I originally didn’t want to play but ended up liking quite a bit. Defender of the Crown is also more action based than I first realized which is another way the game appeals to my tastes. I started up the game with feelings of intrigue and excitement, rather than an attitude of indifference. Would I have a good experience after all?
Defender of the Crown is a game for the Commodore Amiga that released in 1986. It was developed by Cinemaware as their first release. It was best known for setting the graphics standard in video games at the time of its release. Later the game was ported to various home computers while taking a hit in the graphics and audio compared to the Amiga version. The NES port of the game was released in July 1989 in the US and in PAL regions in July 1991. Ultra Games published the US version and Palcom published the PAL version. Beam Software appears to be the developer but the evidence I have found isn’t conclusive. It’s possible Konami developed it themselves.
Defender of the Crown is a strategy title that includes some action elements. The game takes place in England in the year 1149, mired in a civil war. The king has died and someone has to take the throne. To the north are the Saxons displayed in blue, and to the south are the Normans in orange. You play the role of one of the Saxon lords. Your task is to take over all three Norman castles, thereby ending the war so that you can be crowned king. The other Saxons are your allies, but they too want the crown and may come after you as well. You will beat the game if you turn the entire map to blue.

Hey, it’s Robin Hood!
There are many different modes to this game so the controls change frequently to follow suit. Most of the time you will control a cursor on the map screen. Use the D-pad to move the arrow and press A to make selections. The map shows all the separate regions of England. There are colored shields with symbols on them that denote which lord owns that territory. Your army is displayed as a man on horseback within the region you currently occupy. At the start of the game you are randomly assigned one of the three Saxon castles. This map fills up most of the screen, but there is a white banner in the upper left corner that acts as your menu. Press A while on the banner to bring up the menu. A dagger appears as the menu cursor.
Before starting a game, you get to choose one of four knights as your main character. They are Wilfred of Ivanhoe, Wolfric the Wild, Cedric of Rotherwood, and Geoffrey Longsword. Use the D-pad or the Select button to switch between profiles, then press A on the one you want. Each knight has ratings in Leadership, Jousting, and Swordplay ranging from Weak to Average to Good to Strong. The manual says Wilfred of Ivanhoe is the best knight to start off with, and this is the one I chose to play.
After choosing your knight, and before each turn, you see your status screen. You get to see your character portrait, as well as the portrait of the fair maiden should you rescue her. At the top is the current date, both month and year. Below that is your monthly income and your current gold. Next are the Leadership, Jousting, and Swordplay ratings. At the bottom the current forces of your army are shown. You see the number of soldiers, knights, and catapults in your army. You also see how many soldiers are staying behind to defend your home castle. You always get the first turn every month. You will see the map activity of the other lord’s turns afterward. While you can see the location of your army, you cannot explicitly see where the enemy armies are positioned on the map.

Study the map, then conquer it.
The main menu in the corner of the map screen contains your main commands. Tournament lets you spend five gold to hold a jousting tournament. Conquest is one of your primary commands. It contains sub commands that allow you to move your army and forces around the map. Go Raiding lets you do a raid for gold against one of the castles. Buy Army lets you spend gold to buy more troops. Use the Read Map option to check the stats on any of the provinces. You can also choose to Pass your turn.
With the Conquest command, you can control your army. The sub commands are Read Map, Move Army, Transfer, and Done. Read Map under the Conquest command is the same option as on the main menu. Move Army lets you move your army between territories, but before you can do that, you first select the Transfer command to move troops between your castle and your army. You begin the game at your home castle with 20 soldiers and none are in your army, and you can’t move your army with no one in it! On the transfer screen, you see Soldiers, Knights, and Catapults in the middle. On the left side is the count of each in your home garrison, and the right side is the count of each in your army. Use the D-pad to move the dagger cursor and press A to select a unit type. You can use either Left or Right to move troops between the army and garrison, and then press A again to de-select the cursor. Choose Done when finished moving troops. This action doesn’t cost a turn.
Now that you have troops in your army, you can use Move Army to move them to a new territory. You can move the army to any adjacent territory you already own without losing your turn. You can also move freely through other Saxon territories and you decide if you want to just pass through or attack them. If you move to either an empty or hostile territory, this will end your turn. It’s a good idea to use Read Map to examine other territories. Pull up a territory to see the name of it, who owns it if applicable, the number of vassals, and the monthly income generated from owning the territory. Moving to an empty territory claims it for yourself, and in addition, the number of vassals in that territory are added to your army. Adding vassals only happens when taking previously unclaimed territories and not when taking a territory from someone else. If you move to a territory owned by someone else, and there’s no army or castle there, you claim it. Otherwise you will do battle with the occupant. More on that later. All claimed territories generate income that you earn in gold at the start of every turn.

Try to hit the center of the shield to knock him off.
You can compete in jousting tournaments either by paying five gold from the menu or participating for free in a tournament arranged by someone else. You can either compete for Fame or for Land. If you have no land to gamble, or if the game doesn’t let you choose, you automatically compete for fame. When jousting for land, you get to pick an enemy territory that you want to claim. Then that ruler will choose one of your territories and the winner of the joust gets both. When jousting for fame, select the name of the lord you want to compete against. The tournament can last for three rounds as long as you keep winning, and you can only compete against a lord once per tournament. One key point here is that jousting for fame will increase your Leadership stat if you are successful. In fact, Leadership is the only rating that can either rise or fall depending on actions you make throughout the game.
The joust consists of two phases: The joust and the morning star battle. The joust portion is the face-off on horseback that you would normally think of. Two riders on horseback take opposing sides. The action takes places from a first-person perspective with the opponent approaching from the other side of the low fence. Use the D-pad to adjust the position of your spear. Movement is erratic and stiff, but what you want to do is try and put the tip of the spear as close to the center of the opponent’s shield as you can. Then you see an animation with the results. One man can be knocked off his horse, or neither. If no one falls you try again up to three times. If you are unsuccessful by the third attempt, you automatically get knocked down. The worst possible outcome is if you accidentally spear and kill the opponent’s house. This is considered most dishonorable, and if you do that you lose most of your stuff. The results of this joust play into the morning star battle.

Morning star your opponent into submission.
The other half of the match is the morning star battle. You are the blue knight on the left and the opponent is the red knight. There are health bars at the bottom for each participant. Winning the joust gives you a larger health bar. Use Left or Right on the D-pad to move your fighter. Press the A button to swing your morning star. This does a high strike. You can do a low strike by holding Down when pressing A. You have a shield that defaults to defending low. Hold B to raise your shield and block high. The idea is to hit where he is not blocking by striking when his morning star is pointed the farthest away from you. The winner of this fight wins the round.
Swordfights occur when you go on a raid, or if another ruler approaches you to save the damsel in distress. This takes place from a side view. You approach the castle and must take out three guards outside. Then you go inside to battle with the captain of the guard. Use the D-pad to inch either Left or Right. Press A to strike with your sword, or you can parry by holding Up and pressing A. You can also escape by moving all the way to the left but that reduces your leadership rating. The best strategy is to hit him with as much space between the two of you as possible, then back up a bit and strike again. It’s possible to get through without damage though I haven’t done it. The outside guards have small health bars, but the captain inside has a long health bar plus the advantage of stairs on his side of the room. If you initiate a raid and win, you steal half the gold from the enemy castle.

Raiding a castle for gold isn’t supposed to be easy.
As the main purpose of this game is map conquest, you need to build up a powerful army by spending cash and buying troops. Use the Buy Army command. All troops purchased here are assigned to your home castle, so to use them in your army you need to be able to move the army home and then transfer them over. There are four types you can buy. Soldiers cost one gold each and are the bread and butter of your army. Knights cost eight gold each. Naturally with the price difference you will have far fewer knights than soldiers. Knights are powerful fighters on the battlefield but are not that useful for defending your home turf. Catapults cost fifteen gold each. You must have at least one catapult if you intend on attacking an opposing castle. You can also buy castles here for twenty gold. This option lets you build a castle on a territory you occupy and provides you ten soldiers to go along with it. A castle on a territory gives you an option to defend yourself and makes things more difficult for enemies to claim it.
Battles take place out on the open field between opposing armies. There’s no action here, rather the battles play out automatically via what amounts to invisible dice rolls behind the scenes. The battle screen displays one soldier per every 25 commanded and one knight per every 10 commanded on each side. The actual numbers are displayed at the bottom. There is a menu at the bottom where you can change your tactics. Use the D-pad to position the cursor and A to make your selection. The command may take some time to take effect depending on your leadership level. The idea to battles is that there are different tactics you can try based on the situation. Hold Your Ground is suitable when you have the size advantage and are a strong leader. Ferocious Attack is a risky move that could help if you are outnumbered. Bombard takes advantage of your catapults. The Outflank tactic can be effective if you are a weak leader with the larger army. You can also Retreat, which saves your men but affects your leadership rating. Battles can play out very fast so you need to make quick decisions for best results during battle.

Punch a hole in the enemy’s defenses.
If you have a catapult, you can perform a catapult siege against your enemy. Simply attack an enemy castle with a catapult in your army. This mode is all about timing. You get six times to attack the enemy castle before engaging them in battle, no matter how many catapults you have. Each time you get to choose your ammo from either a boulder, disease, or Greek fire. Then you get a view of the castle from behind your catapult. Press and hold A to pull the catapult back and let go to fire away. The castle has a low wall in the front. What you want to do is hit the top of the wall with a boulder first to break a hole in the castle. You can expand the hole with multiple boulders by hitting the top of the wall each time. Then you can use either the Greek fire or disease shots to fire into the hole in the wall you made. The fire shot defeats 10% of the home army, while the disease can kill enemy soldiers over time, particularly if you score a hit with it early in the siege. After all attacks are made, then you go automatically into a normal battle.
Should an enemy attack one of your castles, you then play yet another mini-game to defend it. This is a crossbow battle played from a first-person perspective from inside your castle. Enemy soldiers will pop up at predefined points on the wall and fire at you. You move the crossbow at the bottom of the screen with the D-pad. It moves freely left and right, while it will sit at only three vertical levels that you can shift between by pressing Up or Down. Press A to fire arrows. The number of hits you can take and the number of enemy soldiers you have to dispatch depend on how many soldiers are in each army. The higher your leadership rating, the faster you can slide the crossbow around the screen. The enemy’s leadership rating determines how quickly enemy soldiers fire. If you lose your home castle, you lose all your territory and the game is over. This goes the same for enemy castles, so if you successfully take the enemy’s home castle you get all of their territories.

Outnumber your opponent for best results.
Finally, in a pinch, you can call on Robin Hood to help you. On your turn, point the cursor to Sherwood Forest in the center of the map and press A to talk to Robin Hood. He will help you out up to three times during the game. He can help you raid a castle, siege a castle, or help you out in battle. To use him, you must perform one of those three actions right after asking him for help, otherwise you forfeit his assistance. For the normal battles, Robin Hood will swoop in and knock out a chunk of the opposing army.
This was my first time playing Defender of the Crown. I’m glad I got to play it since it was something I had ignored for a long time. A cart copy only costs around $5, but even with that price it’s not one I see as often as I would expect.
The 5/10 difficulty rating I gave Defender of the Crown is misleading. If you haven’t played this game before, you will get destroyed quickly and often. Any time I encountered an enemy on the map, I suffered for it heavily. The fights I did win left me so crippled that I didn’t last much beyond that, and the ones I lost were over almost as fast as I could issue any command. I fared a little better with gold raiding and the joust, however, you can’t win a game with those skills alone. I couldn’t maintain territories long enough to have enough gold to afford even a modest army. The castle defense sections were also tough to get the hang of. Several attempts ended swiftly. I combed through the manual several times for help, and against my normal policy, I also read parts of an FAQ I found online. The FAQ really helped to clarify the tips in the manual and steered my focus, rather than tell me outright the best way to win the game. I was now able to put together a successful strategy for beating the game. My first win was a little drawn out, but I played a few more rounds and started to win pretty easily. My experience with Defender of the Crown went just like AD&D: Heroes of the Lance. The game starts off challenging, but soon gets much easier when you learn to make sense of what to do.

Defending your home turf is the most important ability.
Here was my strategy for beating the game. If you want to figure it out yourself, now is the time to look away. The first thing you need to do is learn the map. Take some time to use the Read Map feature and check out the territories to see which ones are valuable. There is one near the middle of the map that is really good and one of the starting positions will allow you to claim it right away. Instead of building up my army early on, I spent my gold on castles to lock down the best territories. To properly defend the castles, you really need a quick crossbow. This leads to the most important piece of advice. The key ingredient for success is maintaining a high leadership rating. As you could tell from reading here, many positive outcomes all throughout the game are born from having high leadership. If no one started up a tournament after sticking castles on two or three territories, I made sure to hold one to joust for fame and build up my leadership. The sooner you get to Strong leadership, the better. Then you’re in the driver’s seat. Make sure you keep ten soldiers in each castle, especially the ones that border enemies. You can use your army to help distribute soldiers all over your territories, all on one turn. Having a bunch of castles and getting good at defending them with the crossbow is what you want to focus on. You can opt to play the long game here and start rolling out castles on more territories, slowly dominating the map that way. My way was a little faster. Once I had a territory in reach of an enemy’s home castle, I then splurged on a single catapult and the biggest army I could get, splitting my money about evenly between soldiers and knights. Sometimes I went on a gold raid against a home castle for a nice cash infusion. You can also borrow soldiers from castles that aren’t at risk from enemies to add to your army. Do the best you can at a catapult siege, but even if it doesn’t go the best, I vastly outnumbered my opponent anyway and just did Hold Your Ground until victory. Taking a home castle can give you other territories all in one shot. It should be easy to win from here.
I guess you could say I had a love/hate relationship with Defender of the Crown. I was never interested in this game. When it appeared on my list, I was excited to try it. I liked it at first, even though I got hammered. Then I started to dislike the game from all the losing. Once I figured it out, then I had a lot of fun with the game. The graphics are pretty decent. They are a far cry from the original Amiga version, but are more than passable. I don’t remember the music very well, which I suppose means it’s forgettable. I found the controls to be slow and stiff, especially in the jousting and sword fighting. I realize that this is not exactly selling the game to you. What I enjoy about the game is the variety. There are several ways to play this game and you only have to work hard at one or two of them. There are different characters with his own strengths, plus some random starting positions that give you some replayability. It’s a quick game too, which is unusual for a map conquest game. I think it’s the ideal pick-up-and-play game of this style and I can see myself playing it through again, which I would have never said just a few months ago.

#98 – Defender of the Crown