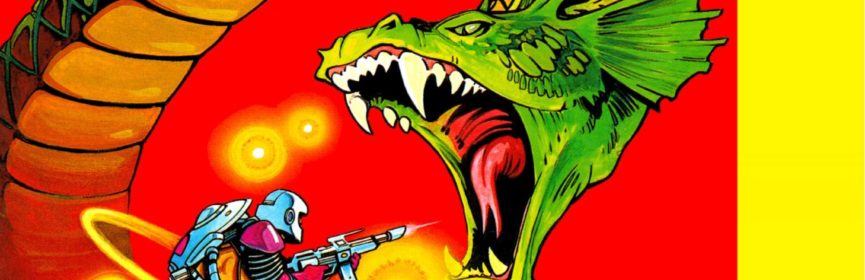
#165 – The Karate Kid
Wax on, wax off!

Some chill vibes here to get focused.
To Beat: Reach the ending
Played: 9/27/20 – 10/1/20
Difficulty: 4/10
My Difficulty: 2/10
My Video: Karate Kid Longplay
Hello, and welcome to another edition of “NES Game Based on a Movie that I Have Not Seen”! I know. This one feels more egregious than some of the others, for reasons I don’t fully understand. It’s not that I don’t like watching movies, but there are just so many things vying for my time and movies are always at the end of the list. Especially older movies. Today some older movies are hard to find in the streaming era. DVDs are much less common now, and not every classic movie is easily obtainable at the local store. I guess the other thing is that I was too little to watch 80s movie back at the time of release, and many of them I never got around to checking out when I got older. Anyway, we aren’t here to talk about movies of the past, we are here to talk about their video games!
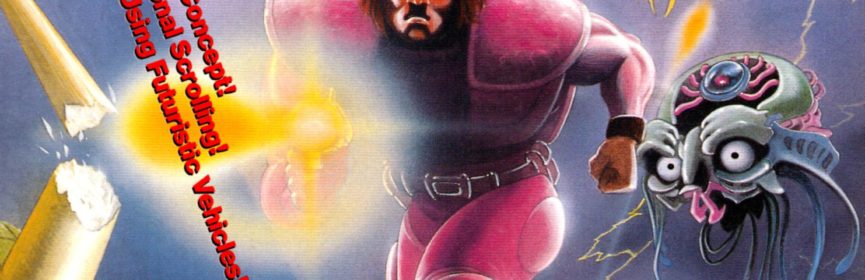
The Karate Kid is a film released in June 1984. It was written by Robert Mark Kamen, directed by John G. Avildsen, and produced by Jerry Weintraub. The movie stars Ralph Macchio, Pat Morita, Elisabeth Shue, and William Zabka. The film was both a critical and financial success. It had a small budget of only $8 million but grossed well over $100 million, making it a sleeper hit and one of the best performing movies of the year. This would become a movie series with two numbered sequels plus The Next Karate Kid. Of current note is the TV series Cobra Kai which had its third season released earlier in 2021. The film is also said to have increased the popularity of karate in the US. There were only a couple of Karate Kid video games released at the time, one of which is this NES version. The Karate Kid on NES was a North American exclusive game, releasing in November 1987. It was developed by Atlus and published by LJN.
Despite the game being named The Karate Kid, the plot of the game follows the story beats of The Karate Kid Part II. The manual is very lean on story, opting for generic platitudes about using his training, practicing self-control, and such. This side-scrolling platformer game will start you at the karate tournament at the end of the first film, with the rest of the game taking place in Okinawa in line with Part 2. This game has four stages and you just need to clear them all and beat Chozen to win.

The climax of the first film is a throwaway stage in this game.
On the title screen, you can select either one or two players. This is alternating play for the two-player mode, nothing to be excited about. However, there is a one-on-one mode. This is a simple fighting game for two player simultaneous play only. Player 1 controls Daniel on the left and Player 2 controls Chozen on the right. This is a very simple, bare-bones fighting mode. You could use it to get accommodated with the controls in a safe space, should you choose, but this mode is too lean to be of any value for two players.
Here are the controls for the main game. You use the D-pad to move. This includes walking with Left and Right, crouching with Down, and jumping with Up. Yeah, it’s one of these games. The A button does a punch, while the B button does a kick. You can do jump kicks and jump punches, as well as crouching attacks. You also possess a couple of special techniques. Crane kicks and drum punches do a lot of damage as well as help you parry attacks. However, you have a limited number of these you can utilize, as noted at the top of the screen. You perform a crane kick by pressing B without pressing any direction, and similarly you do a drum punch by pressing A while standing still. The Start button pauses the same. Select is only used to choose options on the title screen.
The first stage in the game is the karate tournament. Here you will face off against four opponents one at a time. You begin with four crane kicks if you need them. The health bars of both you and your opponent is displayed at the top, so you can see your progress for these brief encounters. This stage is short and sweet, and a fair example of how the combat works for the rest of the game.
The second stage takes place in Okinawa. This is a side scrolling level with the scrolling locked as you go so you cannot backtrack. You’ll be faced with enemy fighters that are simpler to defeat than who you faced in the tournament. You’ll notice the enemy health bar has been replaced with a map indicator. This is a long bar with a small arrow to show how far you have gone in the stage. The stage also introduces powerups. You will sometimes see a small yellow letter C or a small letter D floating in mid-air. Grab one to add one to your crane kicks or drum punches respectively. You also gain a small amount of health as a bonus. The only other powerup you’ll find is one of three bonus characters. You “collect” them and you restore a large portion of your health bar. Nice!

While it requires precision, I always liked catching the flies.
The side scrolling stages also contain hidden bonus games. You’ll find these by jumping into doorways and such that appear in the background. There are three bonus games you will encounter. The first of these is the Chopsticks Fly Catch. Six flies will fly around the screen in a loop-de-loop pattern. Move Daniel Left and Right and press either A or B to pinch the chopsticks together to catch flies. The second bonus game is the Ice Block Break. Here your life meter becomes a power meter that waves back and forth. The size of the power meter is determined by how much health you have entering the bonus game, so to break through them all you really need full health entering the bonus area. Press A or B when the bar is as far right as possible. The third bonus game is the Swinging Hammer. Daniel is on a center platform with a swinging hammer on a rope going back and forth. You need to face the hammer as it swings down and press A or B with good timing to parry the hammer, allowing it to swing to the other side. If you miss you get knocked in the water and the bonus game ends. Depending on how well you do in the bonus games, you can earn points, crane kicks, and drum punches.
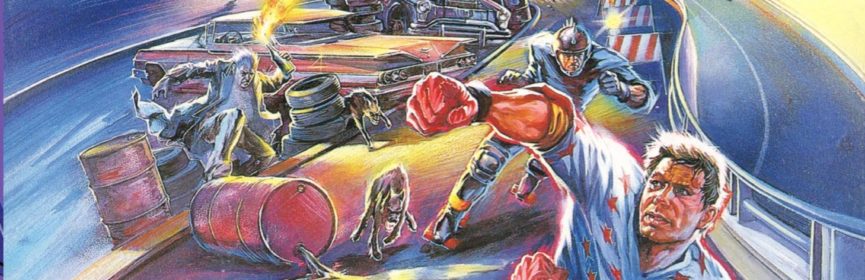
While the first two stages are pretty simple, the final two stages up the ante in difficulty. Stage 3 is the same exact setting and level design as Stage 2, only it takes place during a typhoon. So that means you have wind blowing you backward the whole time, as well as flying objects to avoid and to fight through. These new additions are on top of the enemy fighters you always are fending off. A patient approach is helpful to avoid falling in pits, but the enemies have a knack of bopping you around and pushing you in anyway. The final stage does away with the wind, and in fact is a different stage altogether. This stage features the spear fighters that have greater range. The crane kicks and drum punches help a lot here if you still have some. There are not as many bonus opportunities in this stage either. The stage and game ends with the final battle against Chozen.
Despite not seeing the film ever, I have played this NES game before. I remember playing this game at my cousin’s house as a kid, falling off the stage over and over in Levels 2 and 3. This might have also been a rental once, though looking back that doesn’t really make much sense not having seen the movie. For a long time this was a ubiquitous game that always sold cheap, but this game has eased upward in price over the years. When I was big into collecting the set, this was a $5 game, and now it is trending more toward a $10 game. I got it as common filler in a lot and I’m sure I’ve had more than one copy of it too.

Wind, pits, and being surrounded can make this game tough.
My difficulty rating of this game might be controversial. I know when I played this as a kid it felt nearly impossible. Having not played this game in many, many years, I cleared it on stream on my first try. There’s a little trick I learned from seeing speedruns of this game. In the platforming stages, the game can only spawn two soldiers at a time. If you can get them behind you, they will follow you, leaving the path ahead wide open. That helps a lot, but even without that, they aren’t too tough to fend off. Jump kicks or attacks at the edge of your range work well to defeat enemies, and if they gang up on you the crane kicks and drum punches can cut through their attacks. The patient approach to jumping pits got me through Stage 3 and maintaining a supply of crane kicks got me through Stage 4. All that said, this game only gives you three lives to get through it, and there are no continues. You do gain an extra life for every 20,000 points earned. I feel like the short length of the game is a good enough reason to give this a lower-than-expected difficulty. But feel free to disagree with me!
There is one, small goof I committed in playing this game. I ended up playing and beating this the same night that I beat Days of Thunder. It was an excellent pallet cleanser, and I’m glad my skills kept up to beat the game right away. The only problem was that I did not have recording enabled. I stopped the recording when I completed Days of Thunder but forgot to turn it back on for The Karate Kid. It would be a few days before I was able to sit down and beat the game again, and it took me two more tries to do it that night. Making weird mistakes off-game like this is one of my superpowers, I think.
There’s not too much more to say about this game. I liked it well enough. The graphics are mostly well done, perhaps a little cluttered at times. Some of the bonus entrances are unclear. The music is good with some catchy tunes to accompany the action. The controls work well enough, even with Up jumping. There isn’t a better control scheme I can think of to trigger the special moves that wouldn’t interfere with the gameplay the way it is. This is a simple game to get into and quick to replay after Game Over. The bonus games are fun and you get rewarded well for playing them well. All in all, it was a good, slightly frustrating, and brief experience. Just what the doctor ordered, in my case.

#165 – The Karate Kid